

When developing a Node.js application, you must stop and restart the process every time you make a file change for those changes to take effect. This manual step adds friction and repetition to the development workflow.
You can remove this extra step by using nodemon, a command-line interface (CLI) utility that automatically restarts your Node.js application when it detects file changes in your project directory. It is a wrapper for the node command that watches the file system and restarts the process.
In this article, you will install nodemon, use it to run a sample Express project, and configure its behaviour with command-line options and a nodemon.json file. You will also learn how nodemon functions, why it is a development-only tool, and how to troubleshoot common issues.
nodemon wraps your application’s execution (e.g., node server.js) and monitors the project directory for file changes.
By default, it watches the current working directory. When it detects a file with a specified extension (like .js, .mjs, or .json) is added, modified, or deleted, it automatically performs one action: it sends a SIGUSR2 signal to the child process (your application) to terminate it, and then it immediately starts a new process to run your application again.
This file-watching mechanism relies on the operating system’s built-in file system event APIs (like fs.watch in Node.js, which uses inotify on Linux or FSEvents on macOS). This is very efficient and does not require constant polling, which would use more CPU. However, some text editors or virtualized file systems can interfere with these events, requiring a legacy polling method (-L) as a fallback.
Why We Use Nodemon
So before we start, I would like to tell us the reason why we’re using nodemon.
So before using nodemon, let me say you install your Express.js library into our back end. So as soon as we install it in our back end, if I run our server, after running our server and we feel like want to adjust something in our code, we will have to stop that server before that code can reflect, before something can be updated.
And honestly, it looks really stressful for us to just have to stop a server and restart again because we just made changes. So in order for us to solve that problem, that is the reason why we introduce nodemon.
So nodemon automatically refreshes our back end server as soon as we make changes on our code.
Step 1: Initialize Project
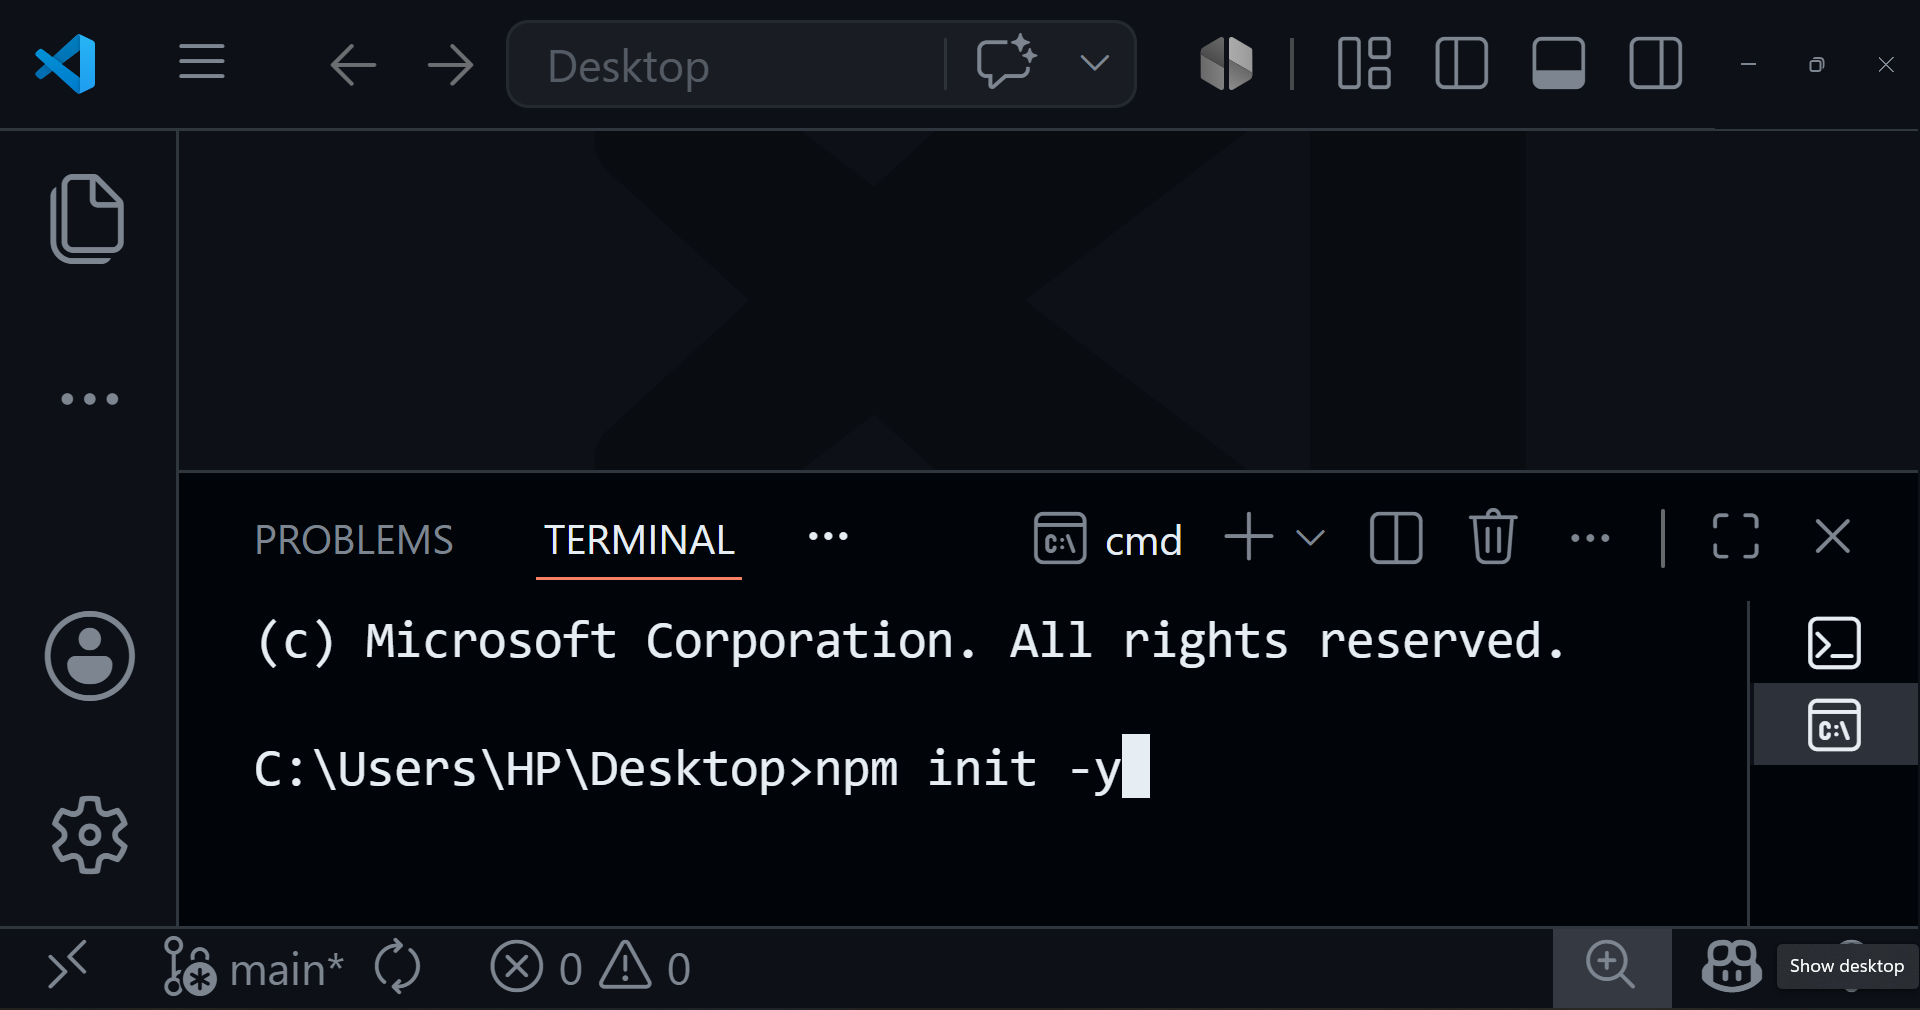
Before we install any packages, we first initialize the project folder using npm init -y, which quickly generates a package.json file to manage everything in our Node.js project.
npm init -y
Step 2: Install Express
We install Express because it simplifies building backend applications in Node.js. Instead of writing everything from scratch to handle routes, requests, and responses, Express provides a clean and fast framework that makes server-side development easier, more organized, and more efficient.
npm install express

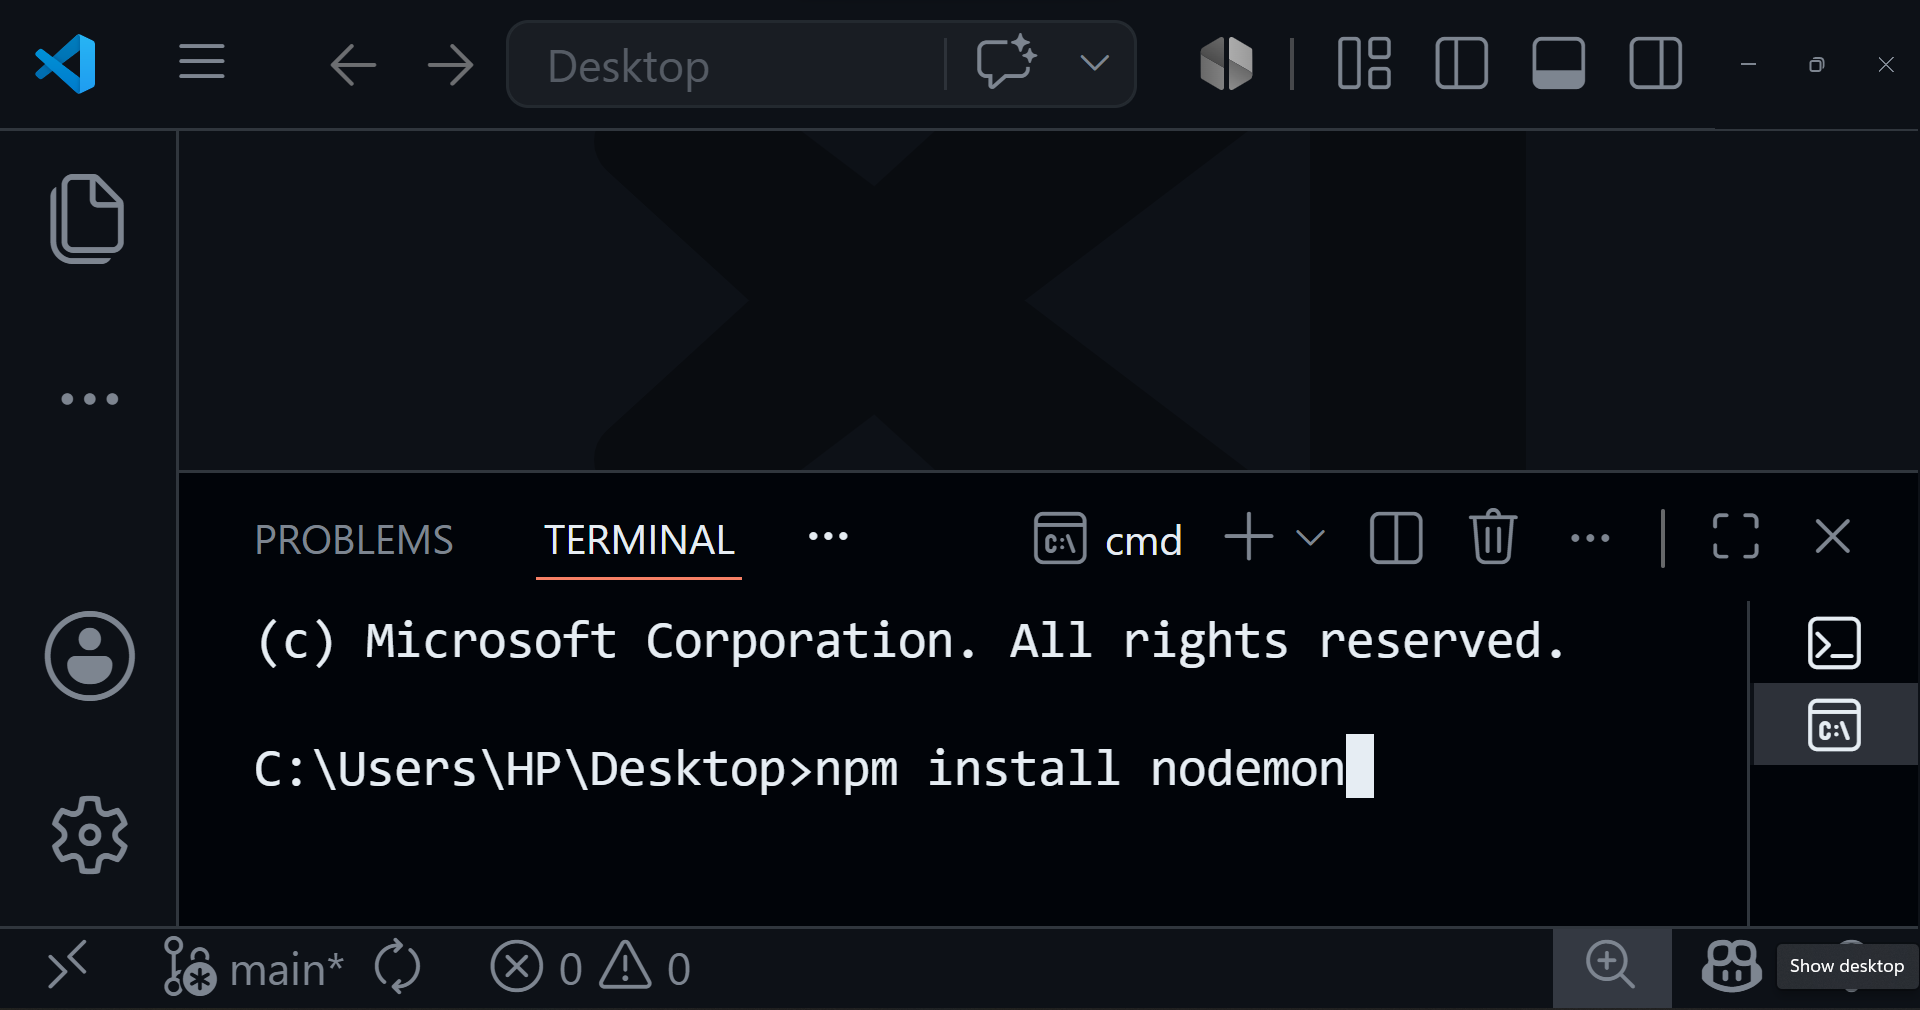
Step 3: Install Nodemon
npm install nodemonWe install Nodemon to make backend development easier by automatically restarting the server whenever we make changes to our code. Without Nodemon, we would have to manually stop and restart the server every time we update something, which is slow and repetitive. Nodemon removes that stress and improves development speed by keeping the server in sync with our changes in real time.
Project Structure
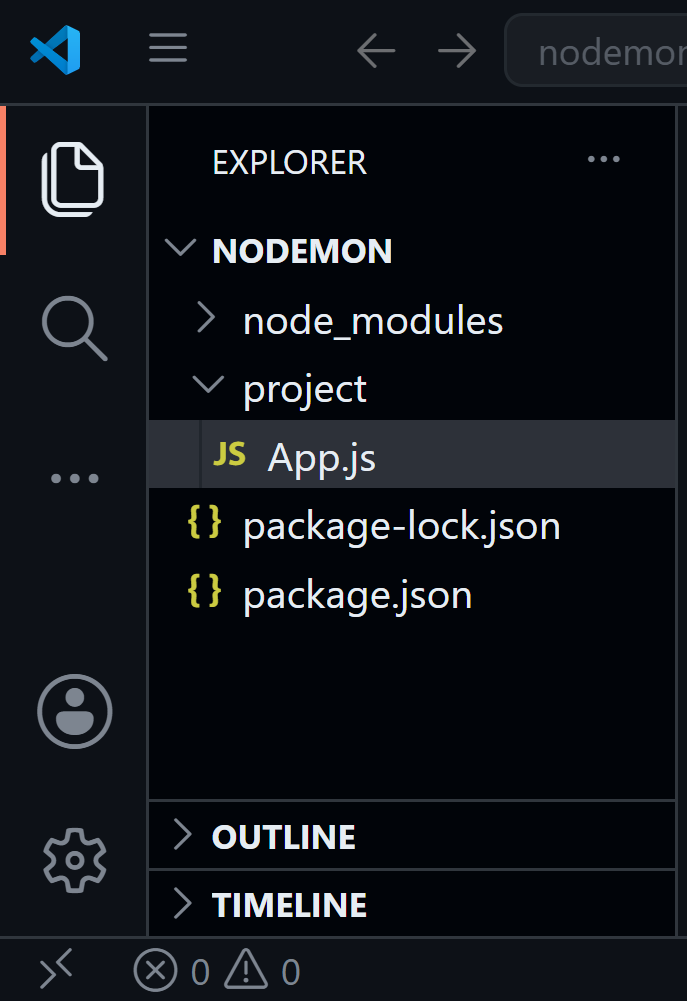
We already know that package.json is used to track everything about our application. It stores important information such as the project name, scripts, and most importantly, the dependencies we install, like Express and Nodemon. This file acts as the main configuration file for any Node.js project.
package-lock.json is also responsible for tracking dependencies, but in a more detailed way. It locks the exact versions of installed packages such as Express and Nodemon, ensuring that the project runs the same way across different environments without version conflicts or unexpected changes.
Now, we create a folder called project, which will serve as the main working directory for our application. Inside this folder, we then create a file called app.js, which will contain our backend server code and handle the main logic of our Express application.
Server Code
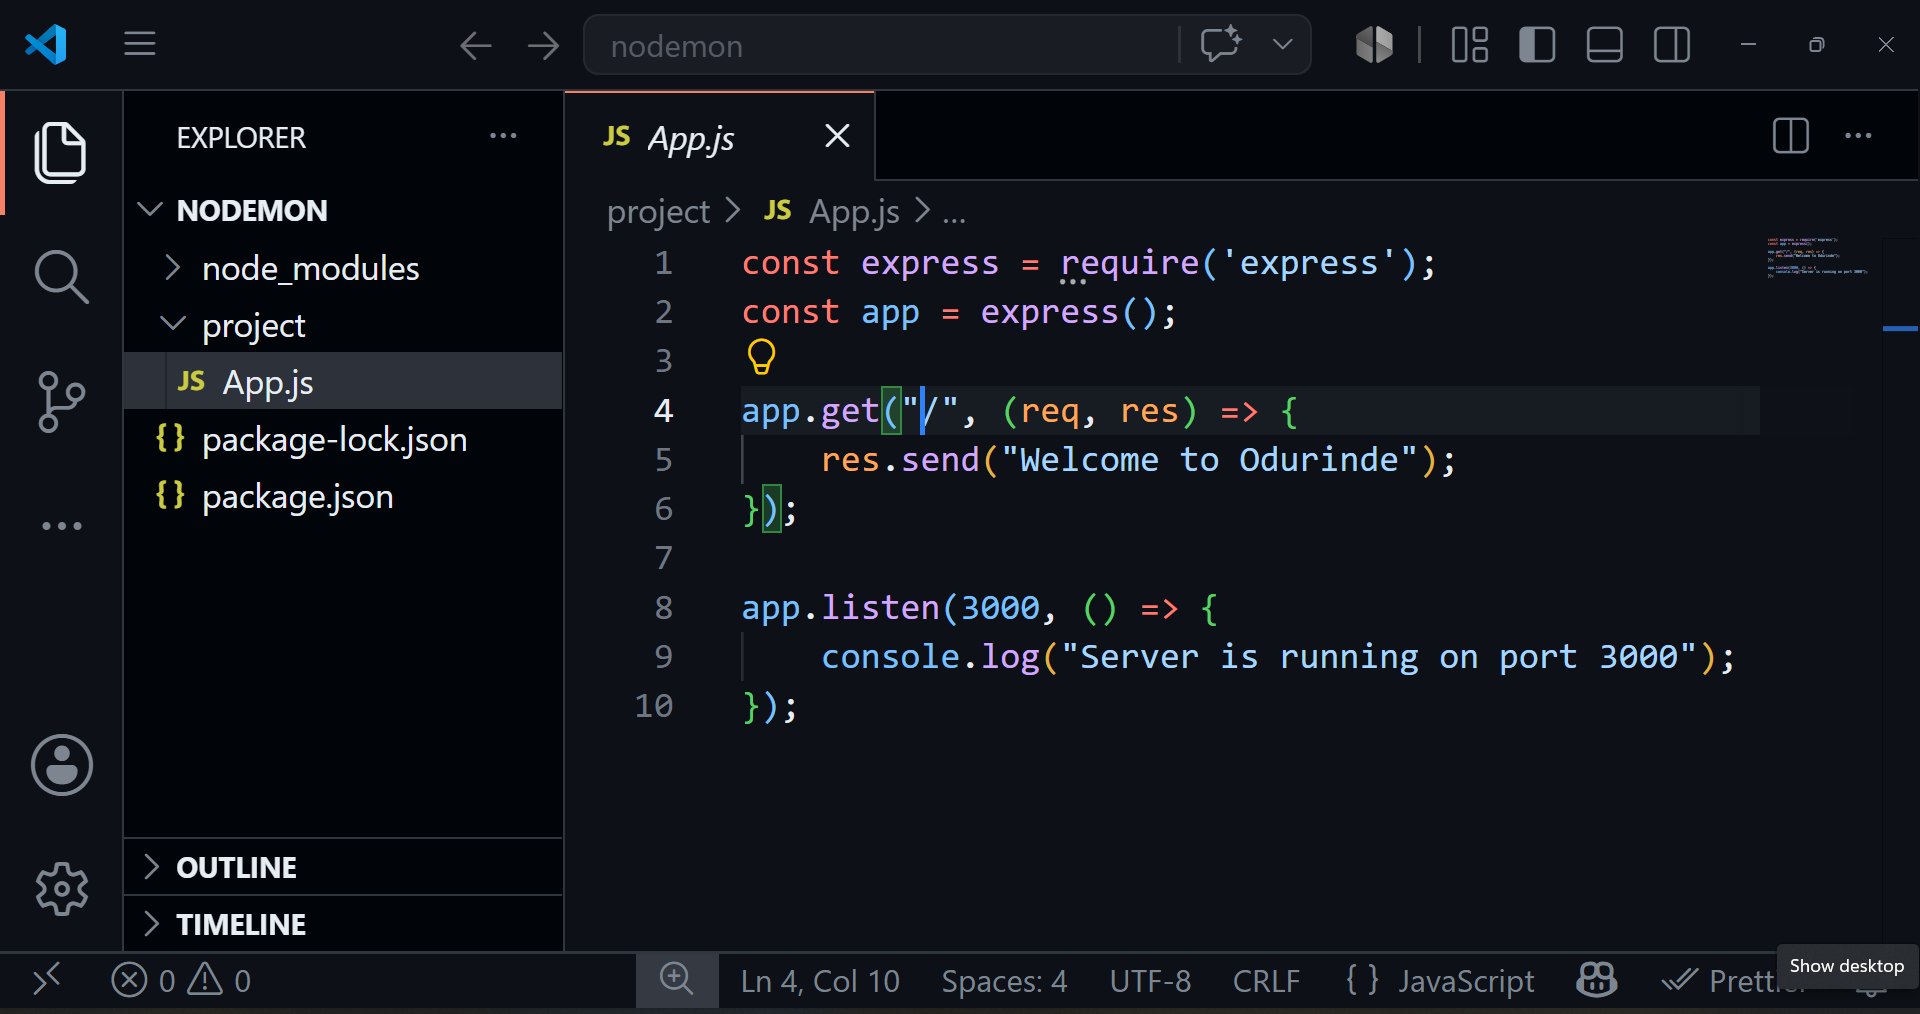
This server code sets up a basic Express application that handles a single route (/) and responds with a message when accessed, then starts a server on port 3000 to listen for incoming requests.
Running the Server
After creating your server file, the next step is to run it.
First, open your command prompt and navigate into your project folder:
cd project
Then run the server using Node.js:
node app.js
Once the server starts successfully, you will see a message in your terminal indicating that the server is running.
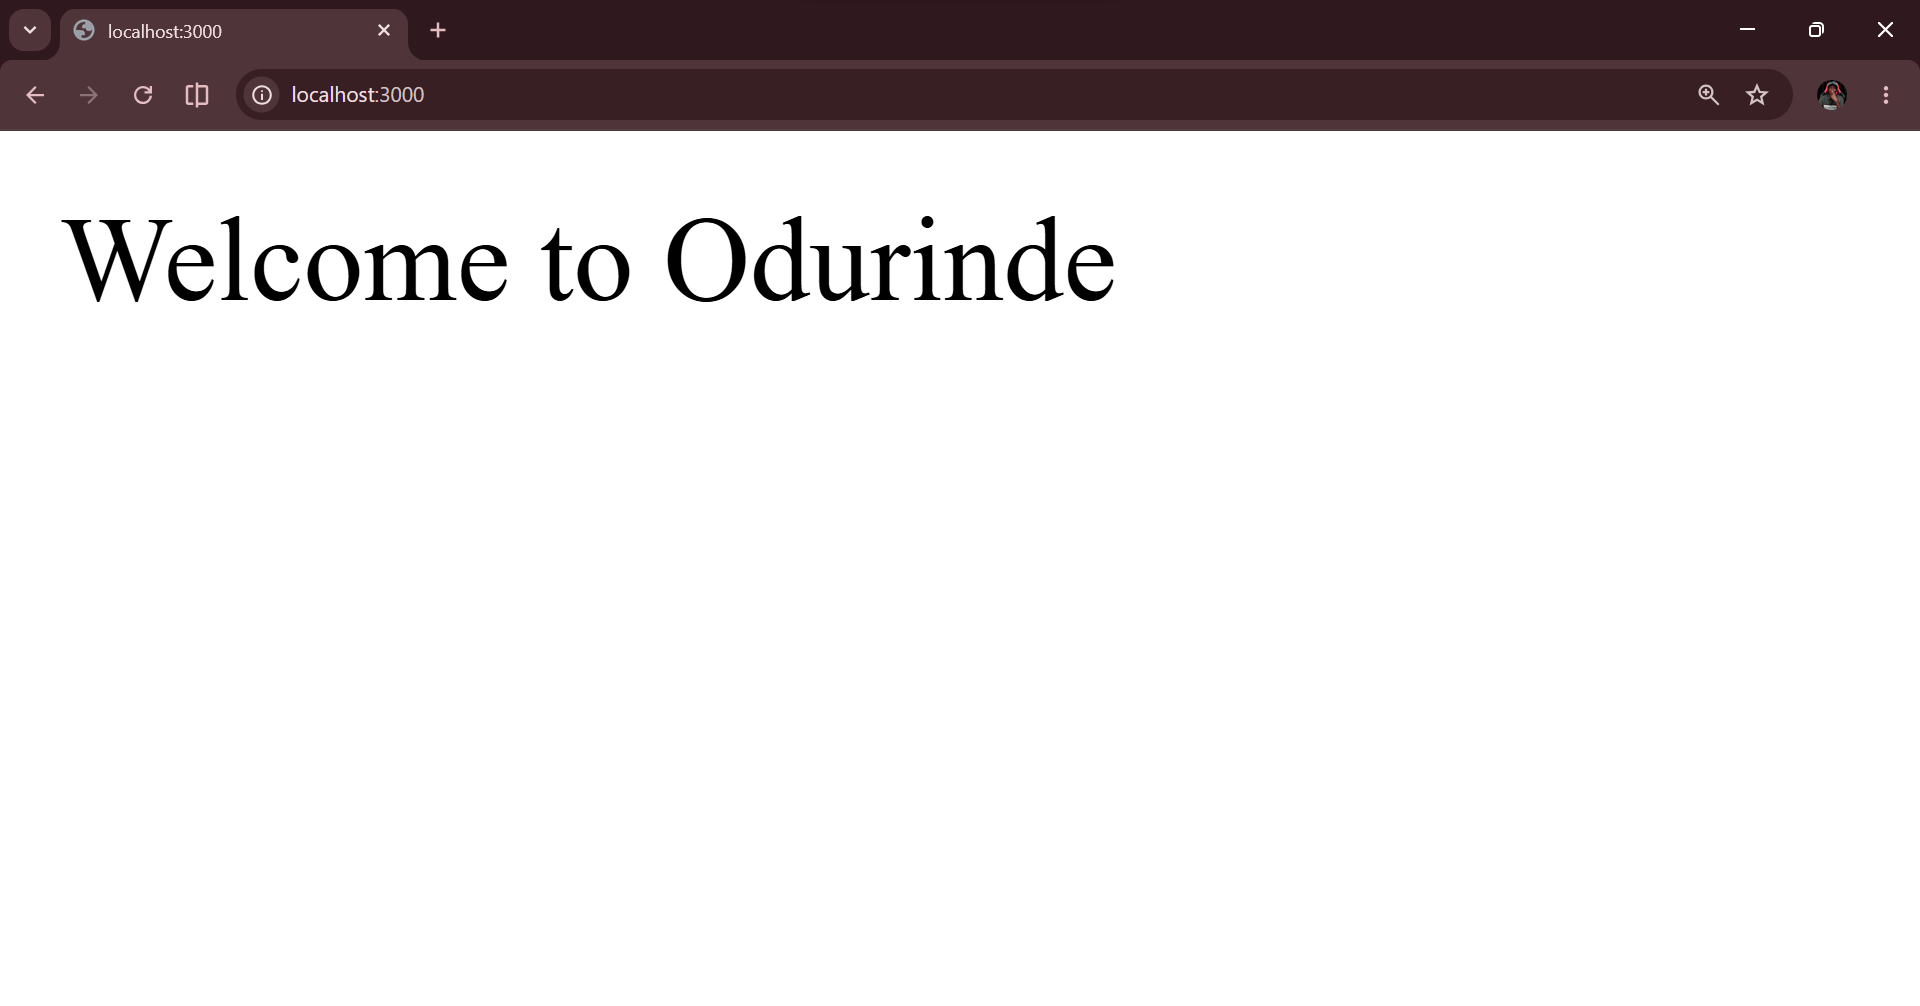
Now, open your browser and go to:
http://localhost:3000
You should see the response from your server displayed on the page.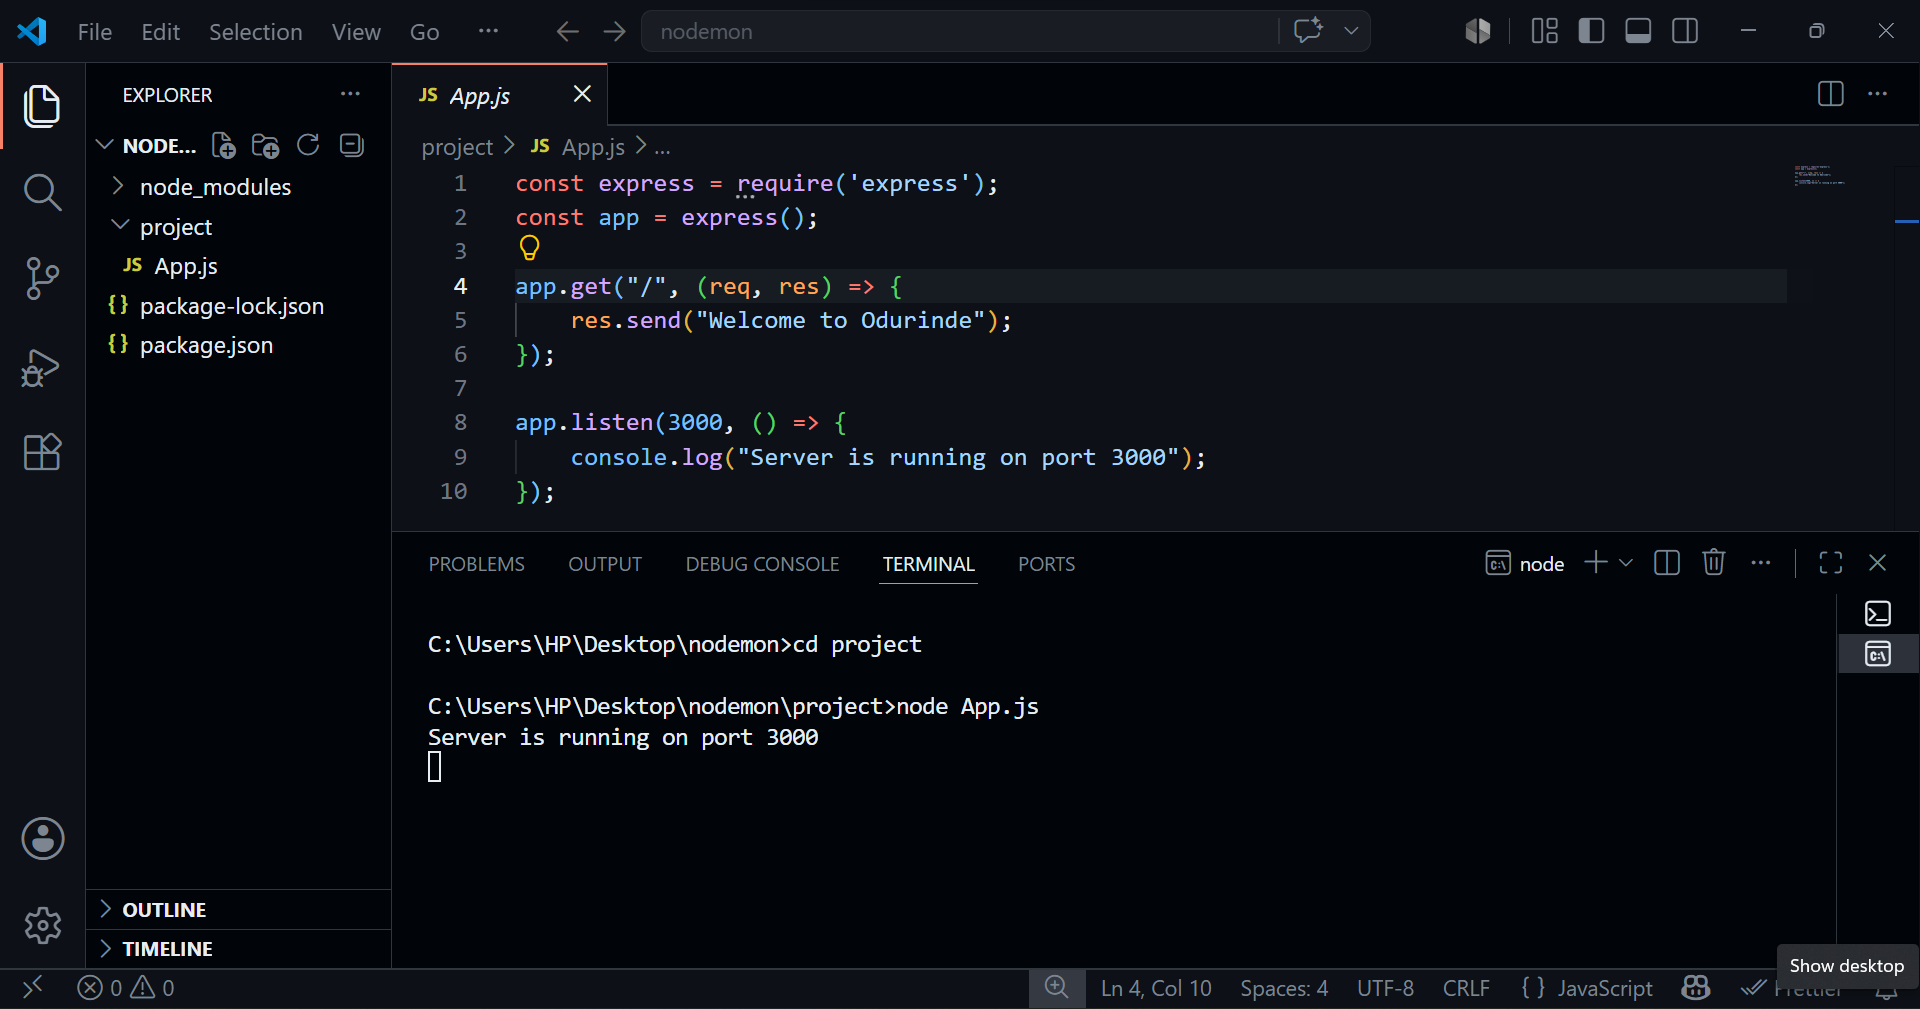
Testing Nodemon Auto Restart
Start your server using Nodemon:
nodemon app.js
Open your browser and go to:
http://localhost:3000
Now go back to your app.js file and make a small change inside res.send(), then save the file.
Immediately after saving, Nodemon will automatically restart the server. You do not need to stop or rerun anything.
Refresh your browser and you will see the updated changes. This shows that Nodemon is working correctly.
Conclusion
At this point, you’ve seen how Nodemon makes backend development a lot easier. Instead of stopping and restarting your server every single time you make a change, Nodemon handles everything for you automatically in the background.
It might seem like a small tool, but once you start using it, you’ll realize how much time and stress it saves—especially when you’re working on real projects and making frequent updates.
Now that you understand how to set it up and use it, you can start adding Nodemon to your workflow and enjoy a smoother development experience.
Watch Full Video
If you want a clearer and more practical understanding of how everything works, I highly recommend watching the full video, where each step is explained visually and in real time to help you follow along easily.
For a better understanding, make sure you watch the full video.
Frequently Asked Questions (FAQ)
1. What is Nodemon used for in Node.js?
Nodemon is used to automatically restart a Node.js server whenever changes are made to the code, saving developers from manually restarting it.
2. Do I need Nodemon for Express.js?
No, it is not required, but it makes development easier by automatically restarting your Express server when you update your code.
3. How do I install Nodemon globally?
You can install it globally using the command npm install -g nodemon.
4. What is the difference between Node.js and Nodemon?
Node.js runs your server application, while Nodemon watches for file changes and restarts the server automatically.
5. Why is Nodemon not restarting my server?
This usually happens if Nodemon is not installed correctly, or your file is not being watched properly. Reinstalling or restarting the terminal often fixes it.
6. Can I use Nodemon in production?
No, Nodemon is mainly for development. In production, you should use Node.js directly or a process manager like PM2.