

There is a saying that a picture is worth a thousand words. In the case of web design, images of all types are used to help tell a story among other things. Sales-oriented articles or blog posts often make use of images to illustrate the reasons a product is worth buying while some blog posts utilise images to sum up a point. It goes without saying that images are an indispensable part of any website. They are a great way to enhance your site.
It is so cool to realise that WordPress gives our images the special treatment. Its built-in media capabilities enable us to catalog our images, search through them, and even make some crucial and minor edits.
Though plugins provide us with quite a bit of power to do more with images, there are many things that can be done on images on the website without using a plugin.
In this article I discuss 12 of those things WordPress enables us to do with images without a plugin.
1. Uploading images
To upload images on your wordpress website, after you must have logged in to your website:
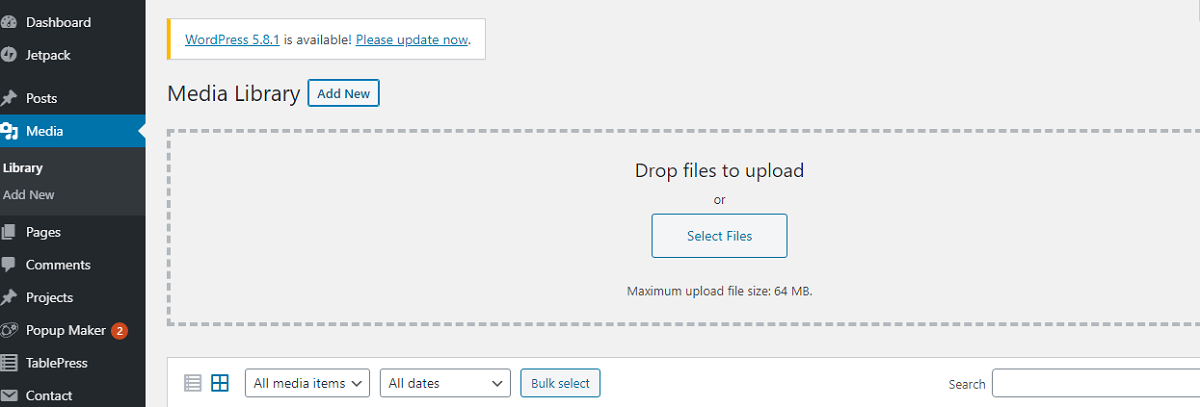
- The first step is to access the media files section on your WordPress dashboard screen. While on the dashboard screen, on the left-hand side of the screen click on Media.
- After selecting Media, you will be presented with a menu with some basic options. Click Add New.
- Now drag and drop the image inside the dotted lines area OR Click Select File to browse the file from your computer to upload. Once the image is selected, it will appear below the file uploader section.
Important: Ensure your image is in JPG, GIF or PNG format. Any other file type is likely to be inappropriate for web use. Get your image converted to any of the above formats before uploading.
2. Add details to new image
You can add details such as captions, titles, descriptions and define alt text to the images on wordpress and the process does not require the use of a custom plugin. It is done with Image Settings on WordPress as shown in the image below. To do this:
- in the media library, click on the uploaded image and you will be taken to the Attachment details where you can add information to the image on the right hand side of the page.

3. Inserting images into posts and pages
WordPress also lets you add images to your posts or pages without first downloading any custom plugin or adding code snippets before you can perform such actions. I explained the process of adding images in a post edited in Classic editor. However, adding images to posts with the Block editor also follows a similar process with some slight differences.
To add an image to your page or post:
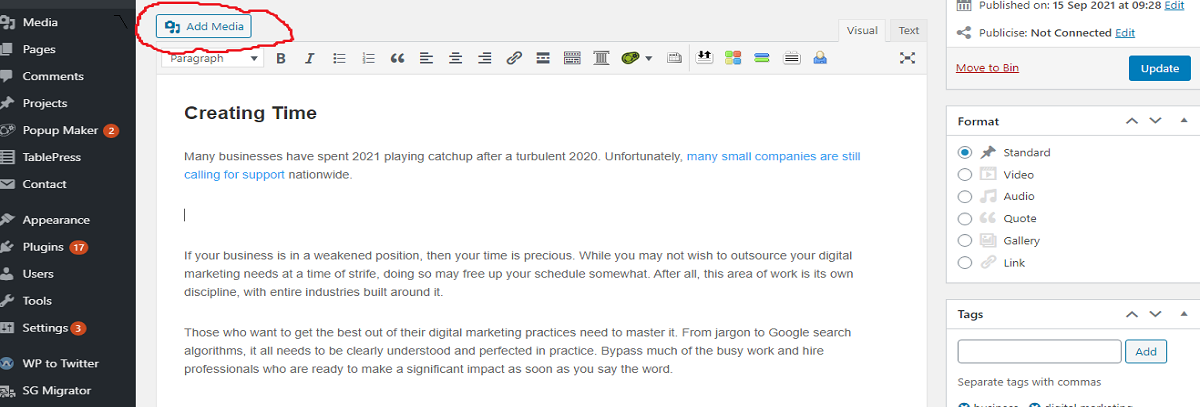
- After editing the post in the Classic editor, first you must insert the cursor in the place in the text where you want to place the image.
- Click on the Add Media button to open the media uploader interface. Then select the Insert Media option from the list of options in the left side of the uploader window.
- Upload the image you want to use from your computer by selecting Uploading Files Or choose Select Media Library to select from any previously uploaded images.
4. Edit an image in a post
Editing an image in a post on your website is also quite easy. It can be done by following the steps below. Note that the explanation below is for WordPress Classic editor.
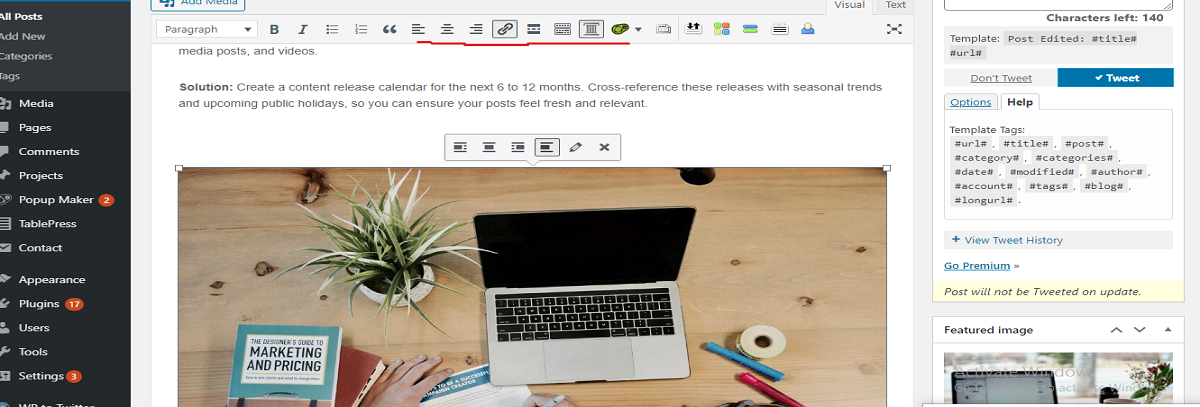
- While on the dashboard, locate and edit the post that contains the image you want to edit.
- Click on the image.
- After clicking the image, then you can use the editing tools on the top pane of Classic editor to perform different functions on the image such as changing the image alignment and inserting a link to the image.
5. Insert a link in an image
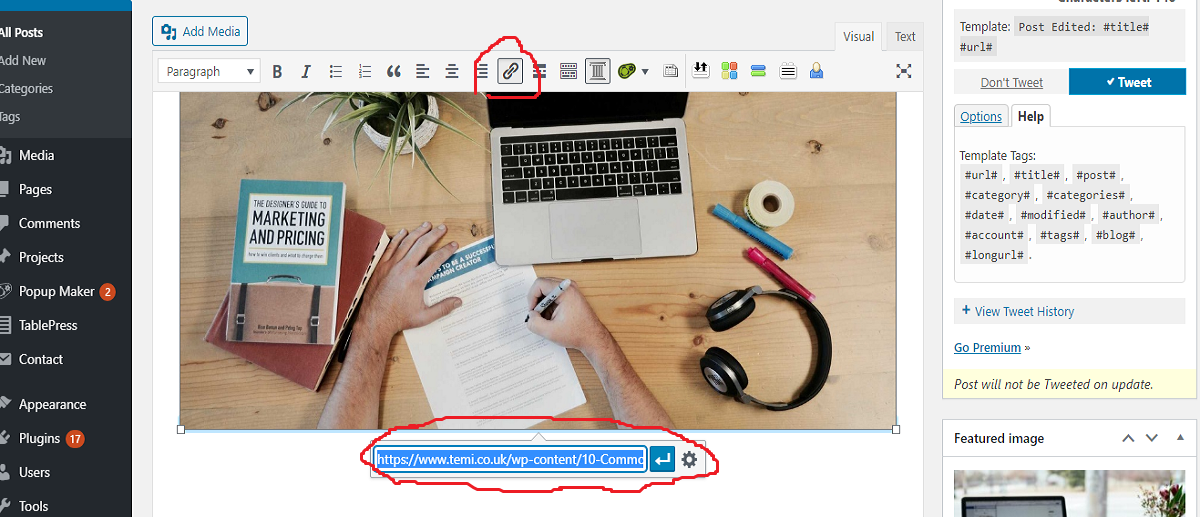
After editing the image as described above, locate the link setting.
The link settings (link options) allow you to hyperlink your images.
To link to a specific URL, enter the URL you want the image to link to in the text box that appears. You can also choose whether or not to have the link open in a new tab.
The link setting allows you to choose an existing content on your website or a custom URL of your choice.
6. Rescale an image
Scaling involves resizing an image in a way that keeps its original proportions intact.
Below are the steps to properly scale your image:
- On your website dashboard, click on Media to select the image to rescale or upload the image if it’s yet to be uploaded. (The steps to follow in uploading an image has been discussed above)
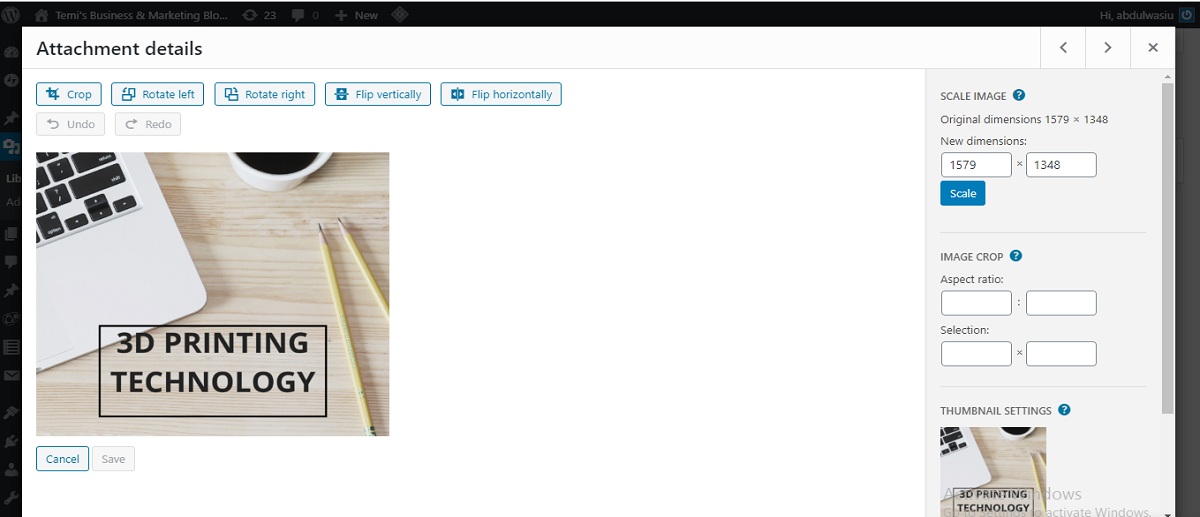
- Once you click on the image, you’ll be taken to the Image Editor. You’ll be presented with information about the image, including file type, file size, file name, and the dimensions.
- Click the Edit Image button located at the bottom of the image. You will be taken to the Image preview page.
- On the right side of the page, you will see options to either scale the image or crop it.
- You’ll see the photo’s original dimensions and a field where you can type in its new dimensions. You just need to type in the height or the width, and the remaining dimensions will automatically adjust, keeping the photo proportional.
WordPress Block Editor
There are even several block features in WordPress Block editor that allow you to do more with your image without using plugins. I itemised these capabilities below with short notes on their respective blocks.
7. Change an image style
The Image block is for adding single images. It’s minimalist, but combined with the Columns block, it can yield a creative design as is showcased in the Coutoire theme.
8. Creating an attractive gallery
The Gallery block allows you to easily add multiple photos and have them automatically arranged in an attractive way.
9. Creating an amazing slideshow
The Slideshow block is great to share pictures without taking too much space on a page or post. See it featured in the Rivington theme.
10. Placing an image or video side-by-side with text
The Media & Text block allows you to place an image or video side-by-side with text.
It comes with a handy option to stack the media and text on mobile devices.
Some creative ways to use it are featured on the Exford and Barnsbury theme.
11. Add GIF images
The GIF block allows you to easily add some GIF images from Giphy.
This is a colorful way to express feelings on your site
12. Placing two images side by side
There is also a block to place two images side by side on your web posts to make comparison easier.